- Install your switches
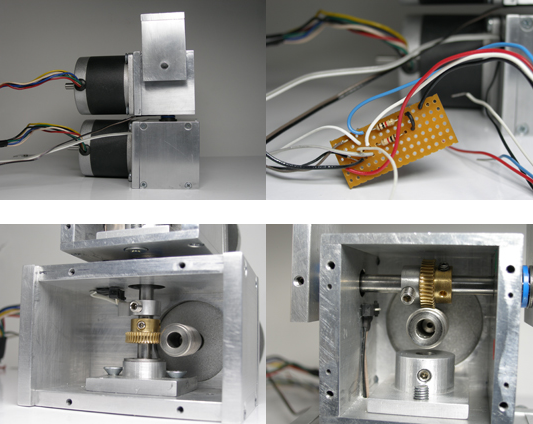
When the gearboxes are assembled, you have to decide where to install your limit switches.
Mark each location with a pen. Then with a center punch, mark the location of the holes through which the wires will pass.
tip: Make sure to place the switches in easy-to-access areas. When you program your pan tilt system, you will have to adjust the position of the small arms. You need to have access to the setscrews. You will use the switches to initialize the position of your gearbox and make sure that the pan tilt reads the limits of possible movements.
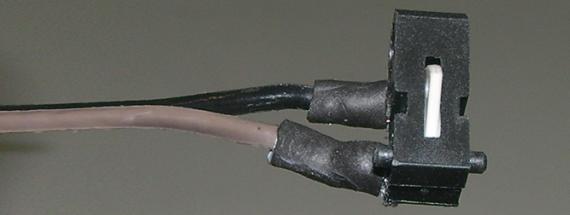
1. First, you will need to solder wires to the switches. Then, add some heat shrinkable tubes to cover your soldering as well as the attached metal parts. Using a lighter or heat gun, shrink them into place.

2. Then drill the holes for your wires and add one resistor per switch. Install your switches in the gearboxes with superglue and add a drop in the holes to fix the wires in place. For +info on the circuit see step 09
tip: I highly suggest the J-B Kwik Weld glue to install the switches.
Intro | Kit Requirements | STEP 01 | STEP 02 | STEP 03 | STEP 04 | STEP 05 | STEP 06 | STEP 07 | STEP 08 | STEP 09 | STEP 10